First impressions mean everything, and your guests are not getting a good first impression if they are having a hard time connecting to your Wi-Fi network. Sharing passwords verbally or even in written form is frustrating and tedious, but there are better ways to share your Wi-Fi password!
No matter what device you are running, you can learn how to share your Wi-Fi password using a QR code. If you and your guests all use Apple devices, you can make the process even easier by adding guests to your network with a single click. Sharing passwords verbally is the way of the past, and this primer will bring you and your guests into an uncomplicated future.
Why Not Just Tell Guests Your Wi-Fi Password?
It’s hard to communicate passwords verbally, especially when the password was chosen with security in mind. Ideally, you should have a long, complicated password that uses lots of random numbers and symbols, but good luck conveying all those characters to your guest and expecting them to type it in properly the first time. Instead, security is often ignored as we are inclined to pick something short, memorable, and easy to speak aloud.
Many of us are also prone to forgetting passwords, especially the very secure ones. This can be particularly difficult if you are changing your wi-fi password as frequently as you should be. When you have a guest over or you are trying to add a new device to your network, you don’t want to spend 20 frustrating minutes trying to retrace the thought process that led to your latest password.
How to Share Your Wi-Fi Password Between Apple Devices
If both your device and your guest’s device (or your new and old device) are iPhones, iPads, or Macs, there is an incredibly easy process for sharing your wi-fi password.
- Make sure that both devices are running iOS 11 or later
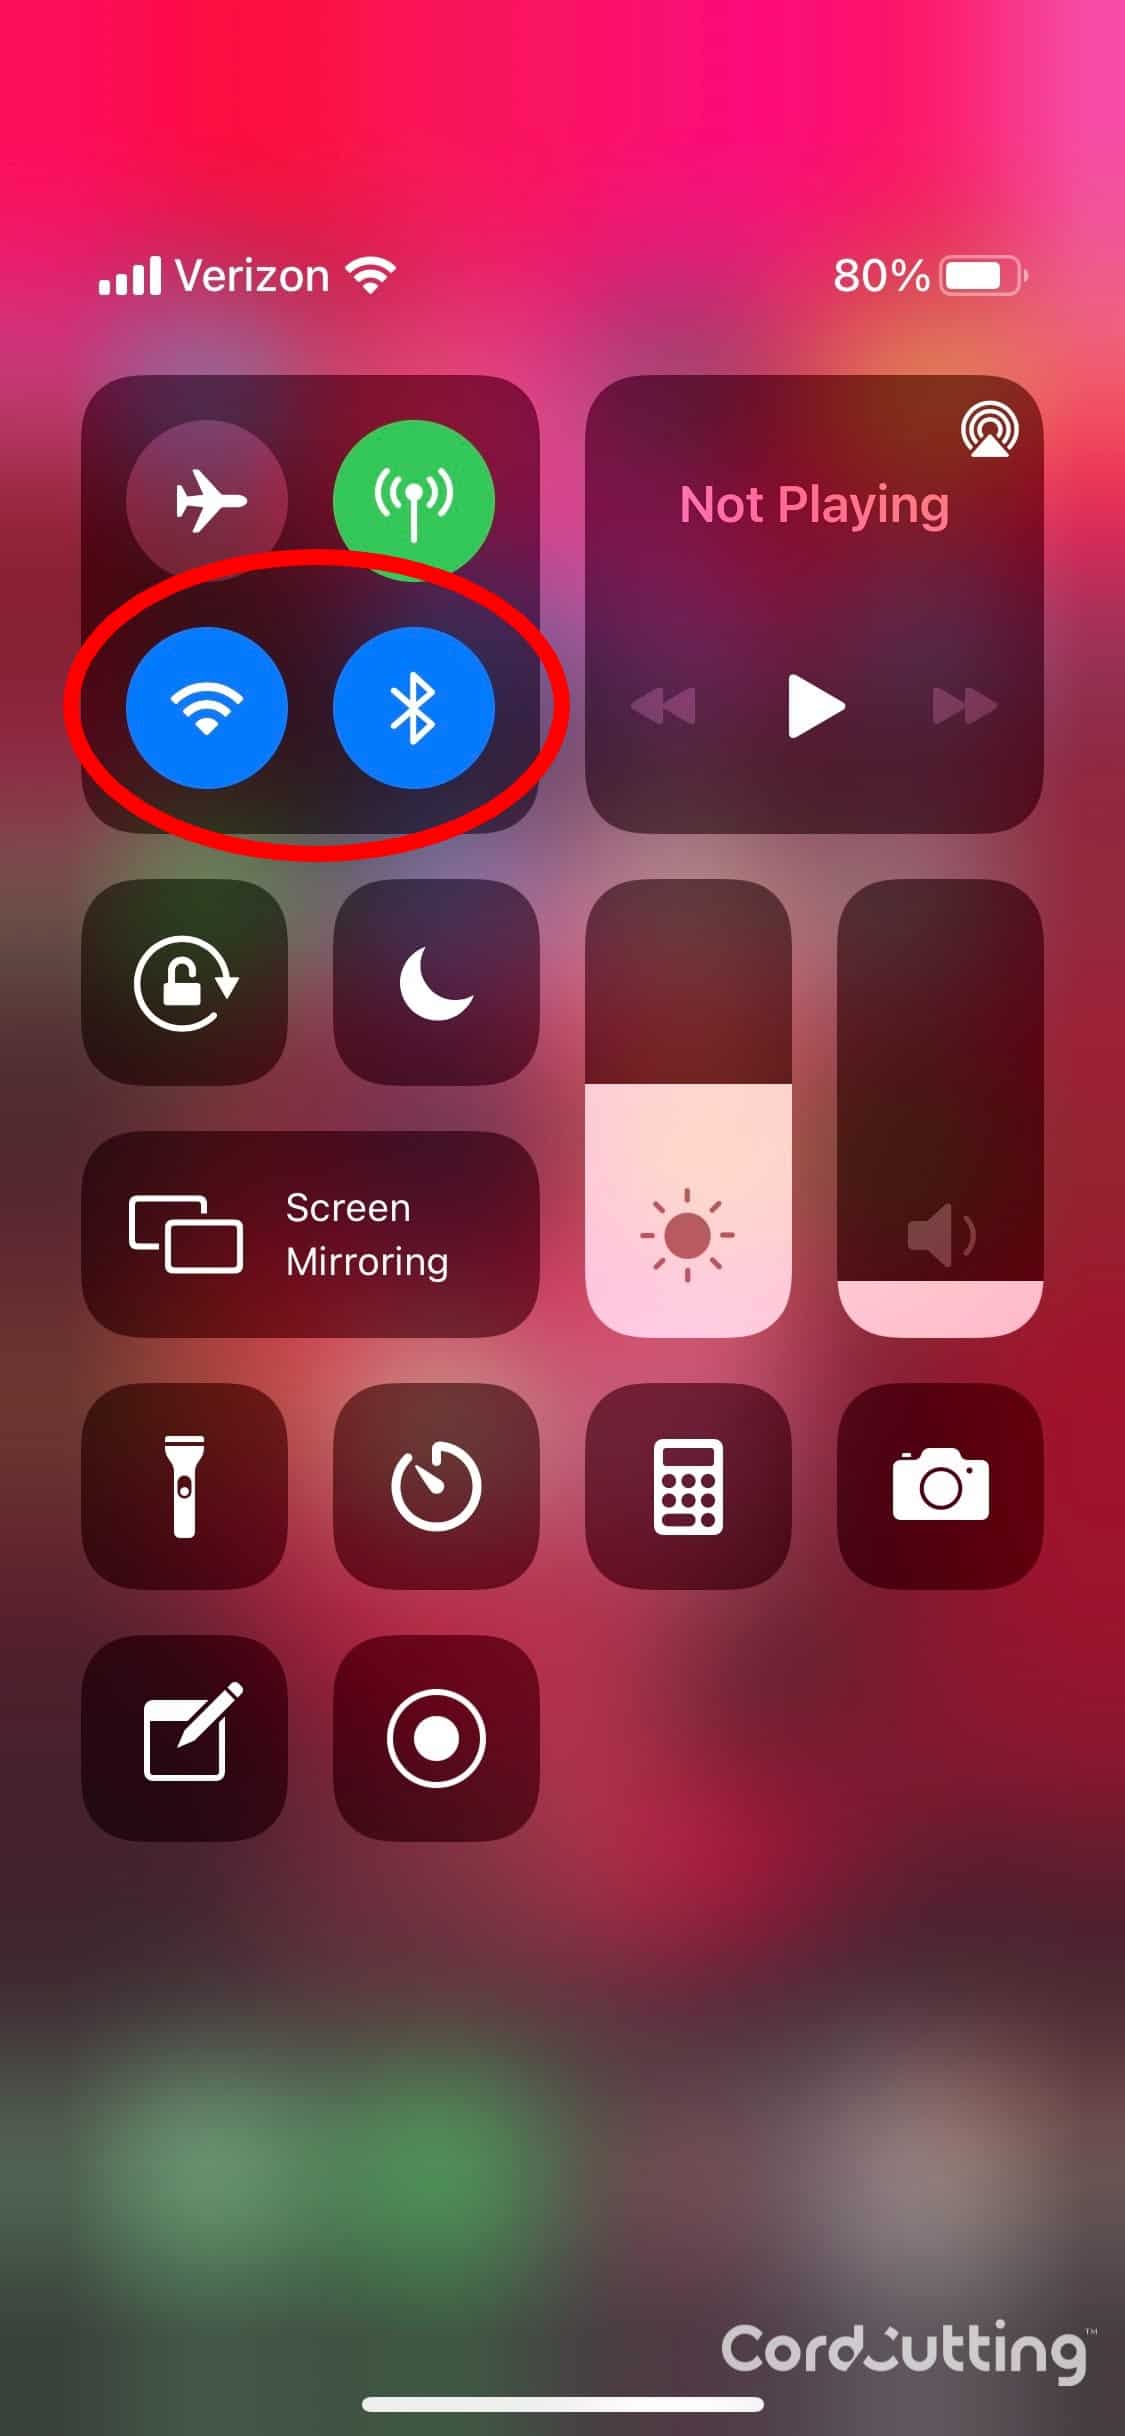
- Turn on Bluetooth and wi-fi on both devices. Both icons will appear blue if they are on.
These are the wi-fi and Bluetooth options that need to be turned on (blue) on both devices. - Make sure that the email address associated with your Apple ID is saved in your friend’s contacts and that the email address of their Apple ID is saved in your contacts.
- If you aren’t already connected to the network you are trying to share, go ahead and connect to it now.
- Bring your device within Bluetooth range of theirs — about 30 feet.
- Tell your friend to go to their network menu and select the same wi-fi network.
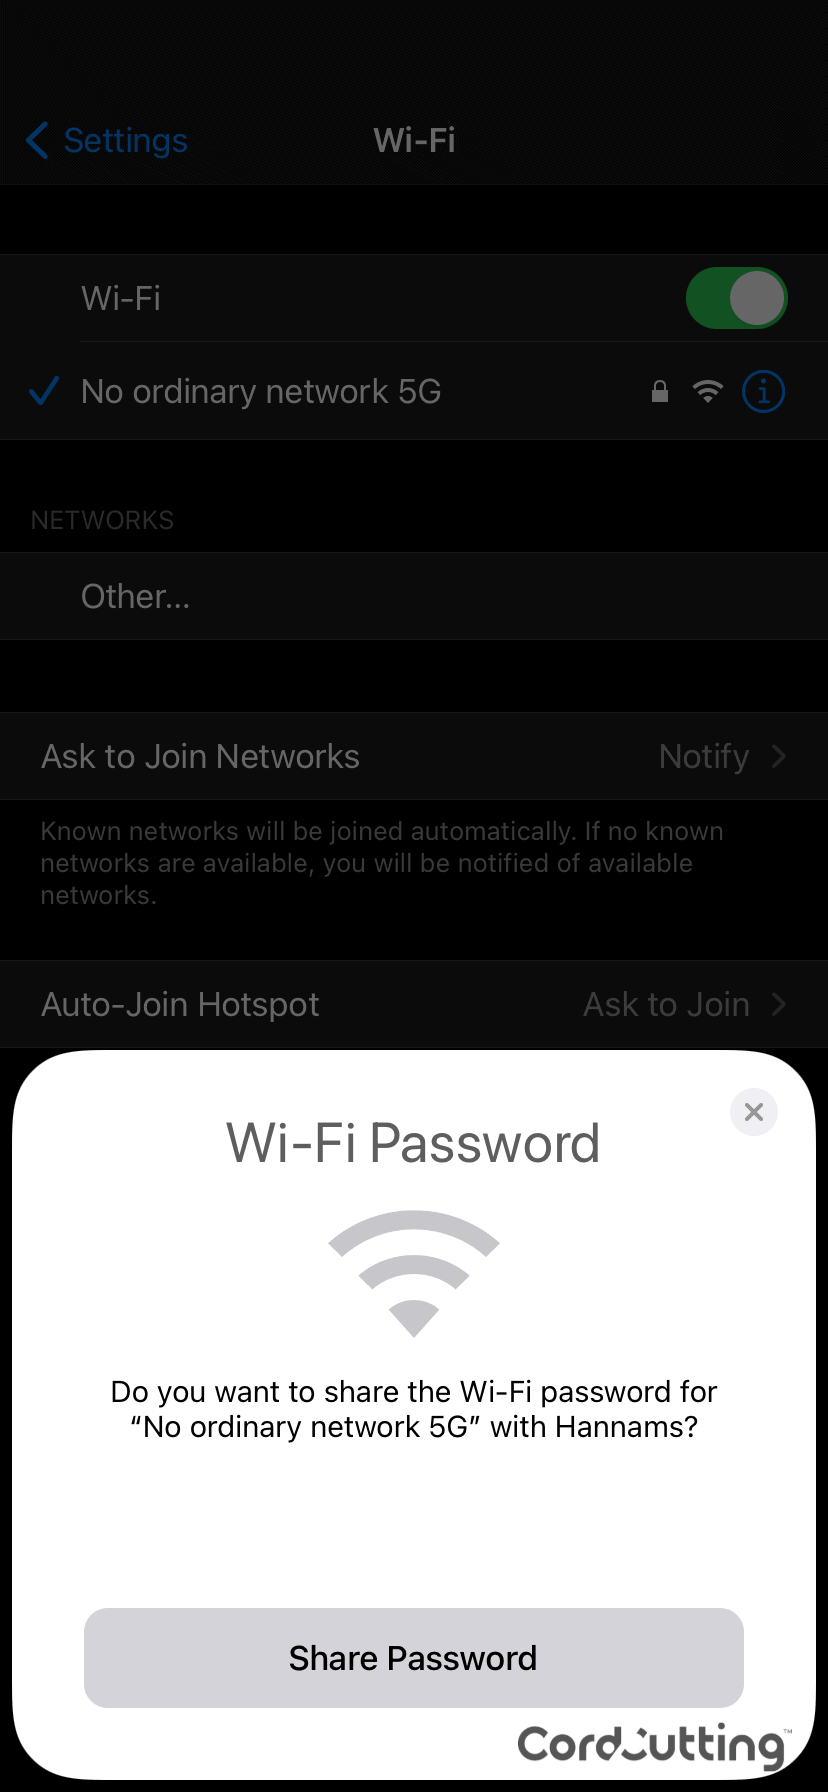
- After a few seconds, you should see a prompt on your phone asking you if you want to share the wi-fi password. Click Share
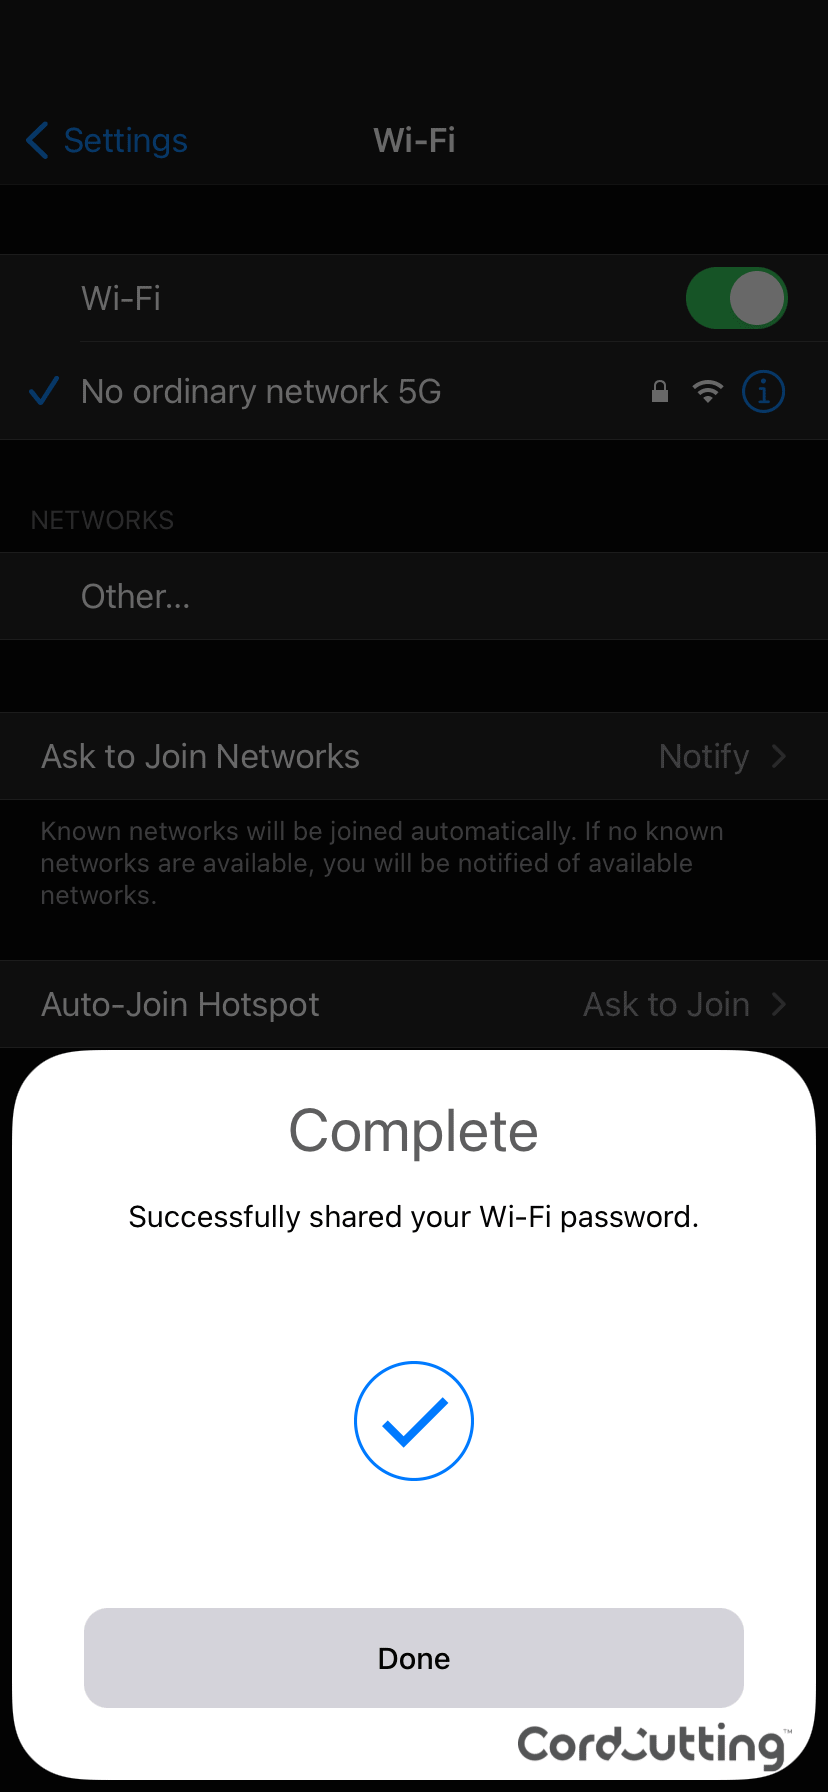
The prompt you'll see when your guest tries to join your wi-fi network. Success! Your guest is on the network.
How to Share Your Password Between Androids and iPhones
The previous method only works with iPhones and other Mac devices, but there is a second method of sharing your wi-fi password that works with almost any device — including both iPhones and Android phones. You can share your wi-fi network name and password using QR codes, those 2D barcodes that you might have seen on a menu, flyer, or any number of other places.
How to Create a Network QR Code on Your Android
Since Android 10, Android devices have had the ability to create network QR codes directly from the wi-fi menu.
- Connect your Android device to the wi-fi network that you would like to share.
- Go into your Settings menu.
- Open your Wi-Fi settings. The exact location will depend on your Android version, but it’s often in Connections > Wi-Fi
- Under Current Network, you should see the Wi-Fi network you are trying to share. Click the gear icon by the name of the network.
- Click the button at the bottom of the screen that shows a QR code. It should say either QR Code or Share. This will cause the network QR code to pop up on your screen.
How to Create a Network QR Code on Your iPhone
Unlike on Android, creating a Network QR code in iOS requires a third-party app. Qrafter is an excellent free app for this purpose, but you’ll also find several other options in the App store.
- Download Qrafter from the App store.
- Click the newly created icon on your home screen to open Qrafter.
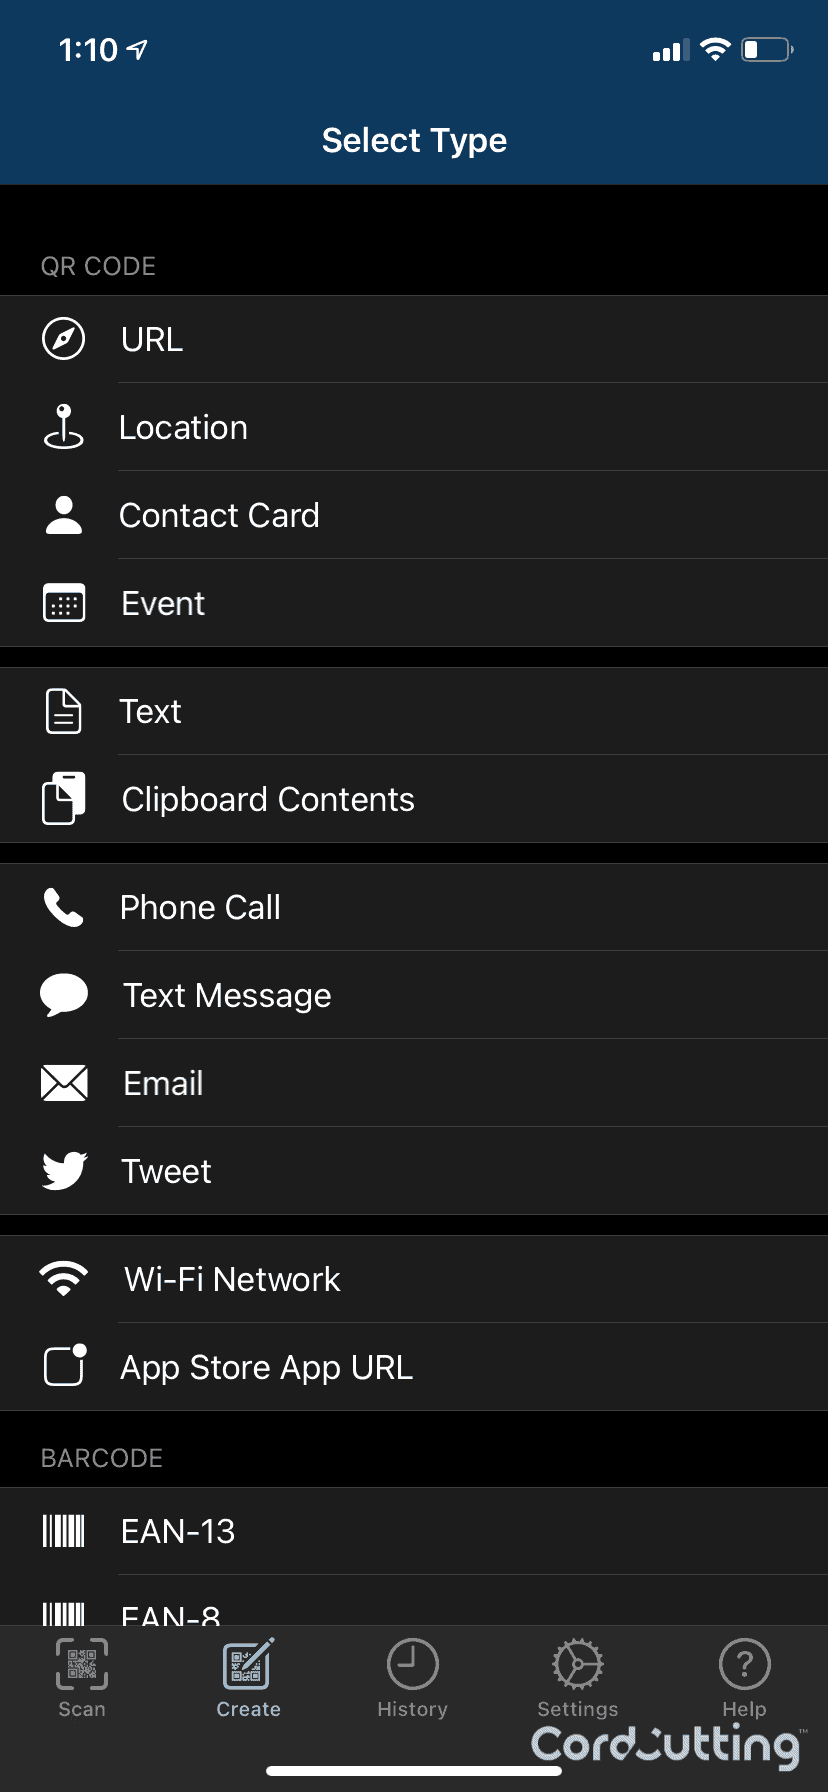
- In the bottom menu of the app, tap Create.
The Create menu in Qrafter, where you'll find the Wi-Fi Network option. - Select the option for Wi-Fi Network.
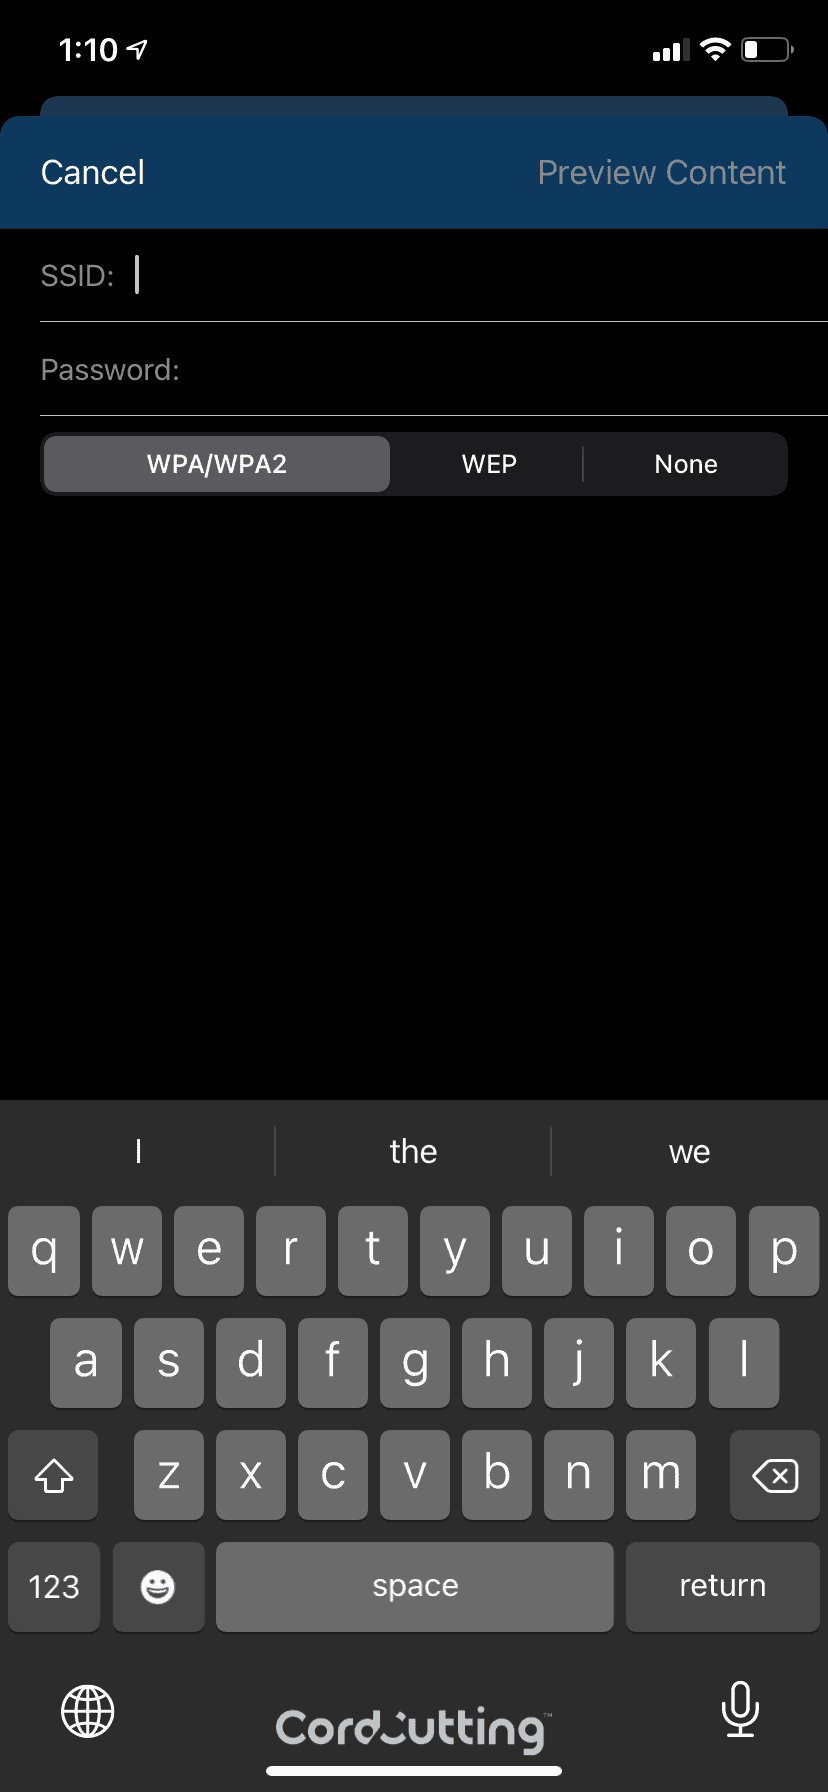
Qrafter's Wi-Fi QR code creation requires an SSID (network name), password, and security type. - Enter your network name as SSID and your password in the Password field. These are both case-sensitive.
- Select your network’s network security type (WPA/WPA2, WEP, None)
- Tap Preview Content in the upper-right corner of the screen.
- Tap Create in the upper-right corner. This will cause your network QR code to appear on your screen.
How to Create a Network QR Code on Any Device
If you don’t have an Android or iOS device, there are websites that allow you to create a network QR code from any device.
- Go to Qifi.org.
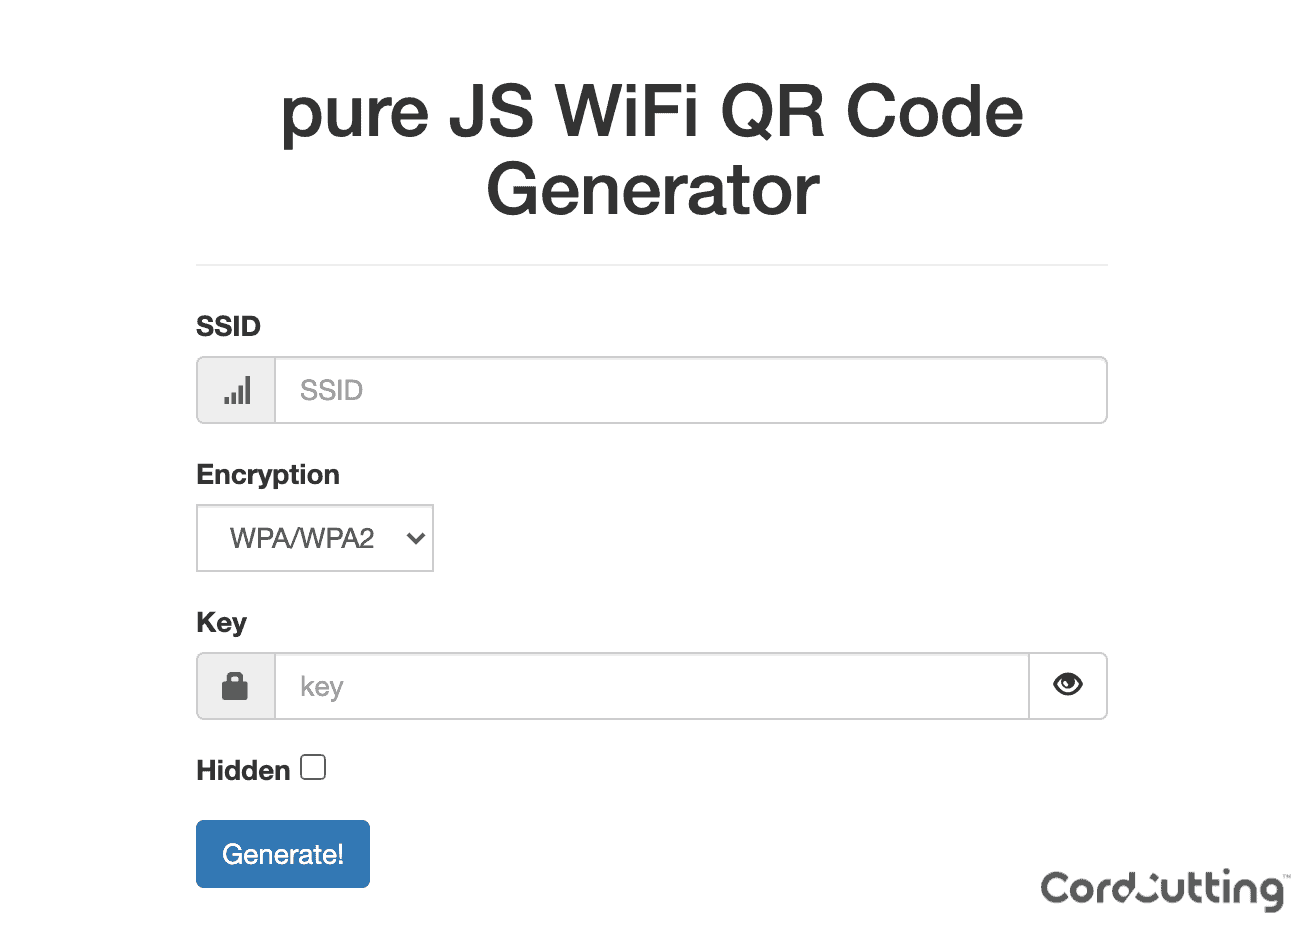
Qifi.org's Wi-Fi QR code creation requires an SSID (network name), encryption type, and key (password). - Enter your network name in the SSID field. This is case-sensitive.
- Select your network’s encryption type from the encryption dropdown.
- Enter your network’s password in the Key field. This is case-sensitive.
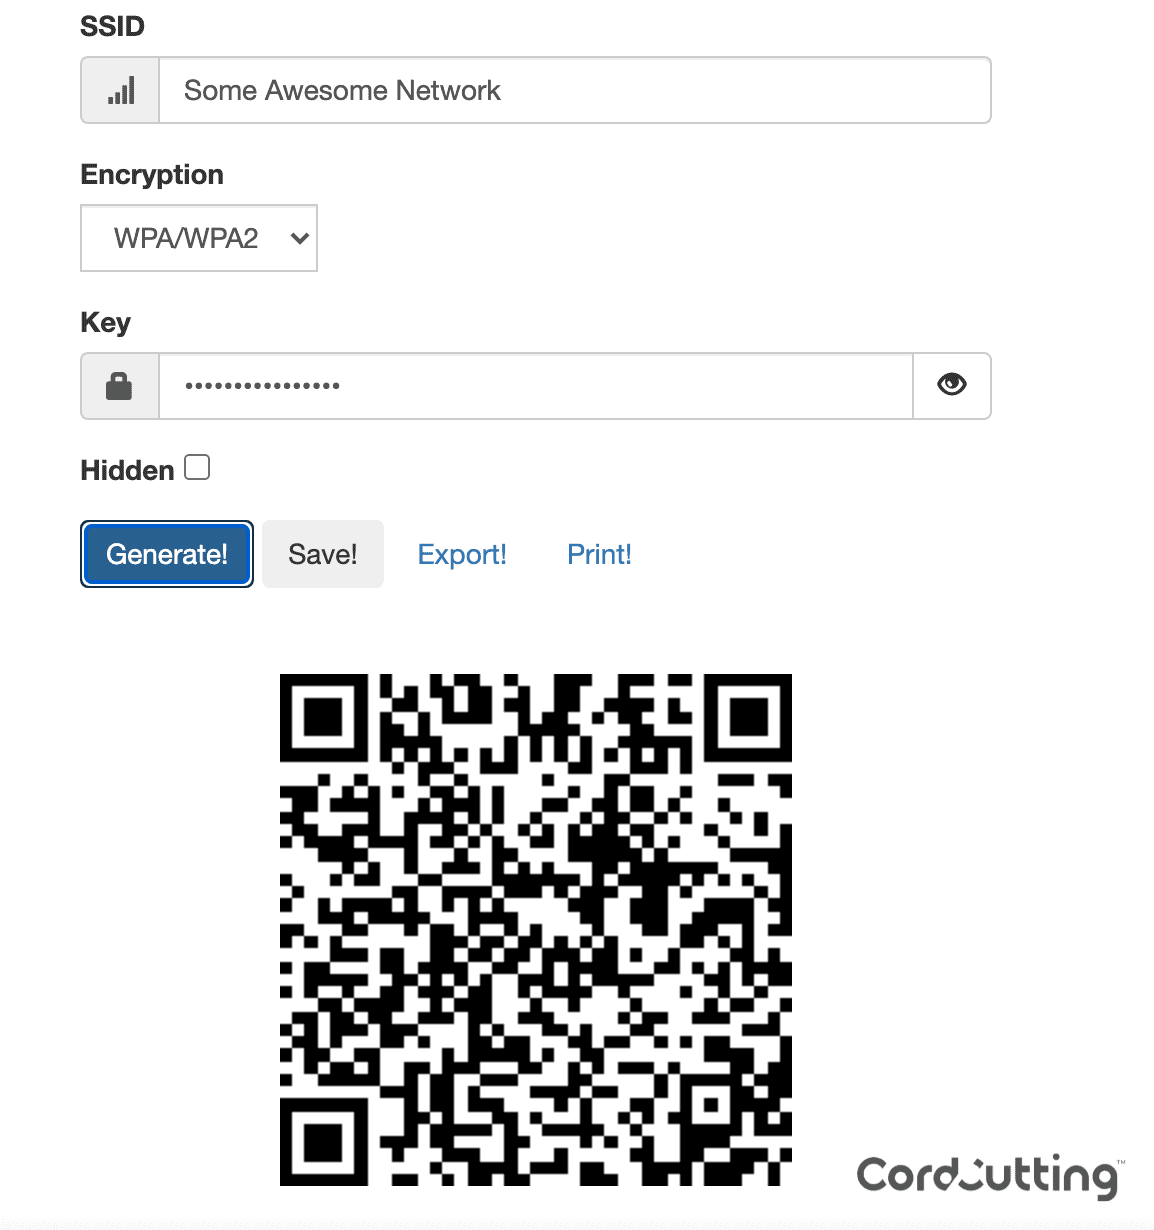
- Click Generate to create your QR code. You can generally ignore the Hidden checkbox. Unless you’ve specifically set your network up to be hidden, it won’t be.
Once you press Generate, you'll get your custom wi-fi QR code, ready for sharing!
How to Use a QR Code to Add Guests to Your Network
You can go through the process of creating the QR code each time you have a guest over, but can you also save a screen capture or photo of your QR code for future use. You can even print it and have your guests scan the paper instead of your phone screen.
Whether it’s in your QR app, a photo, or a piece of paper, all your guest needs to do is scan the QR code with their phone or tablet’s camera.
- Have your guest open the camera app on their phone or tablet.
- Tell them to hold the QR code in the frame of the camera.
- After a second, a prompt will appear — usually at the top of the screen. Have them click the prompt and click through any confirmation popups. After that, they’ll be connected to your network.
Who Doesn’t Love Simplicity?
Computer passwords just aren’t meant to be shared from person to person. Fortunately, your wi-fi password can easily be shared with all of your guests using a QR code or — on Apple devices — an even simpler approval prompt. These methods let you bypass the frustration and get back to enjoying the time you have with your friends and family.
If your futuristic password sharing isn’t enough to impress your guests, you can show them a secure internet experience by installing a VPN on your router. You can also give them access to an array of entertainment options during their visit by turning your PC into a media center.
